• Events
  • Club News
  • Club Info
  • Gallery
  • Membership
  • Sponsors
  • Classifieds

Archive for 2017 Jul-Aug-Sep

Badger Bimmers Attend Brew City Cruise Night

By Jeff Fait
Saturday, August 19th, 2017

Tuesday, August 15th, was the sixth annual Badger Bimmers BMW & MINI Night at Brew City Cruise Night in Mequon, WI.  This year yet again had the biggest turnout so far, and has become a must-do gathering in the summer.

Brew City Cruise Night is a weekly gathering of car enthusiasts from around southeast Wisconsin.  They host 22 Tuesday night car shows (from May through September) at nines American Bistro in Mequon, with each week being dedicated to a feature marque, club, or theme.

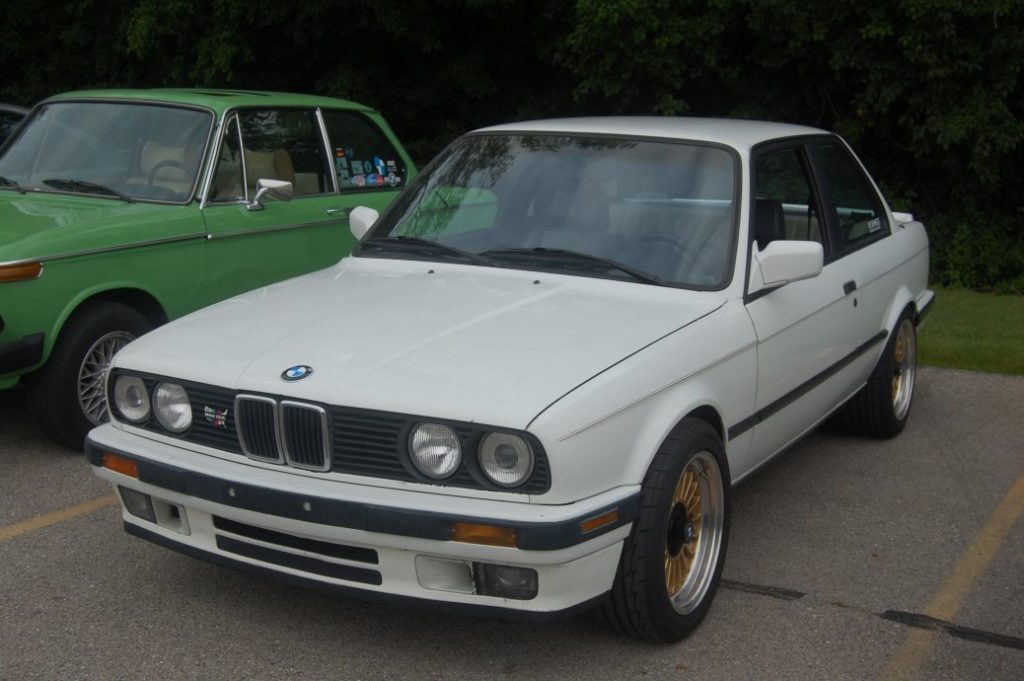
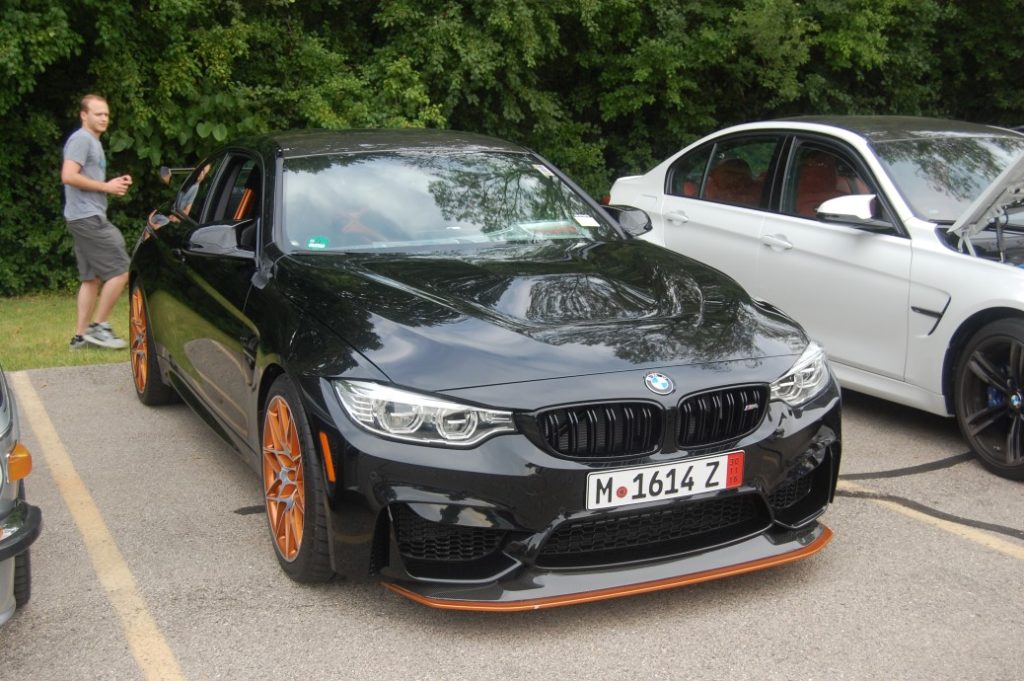
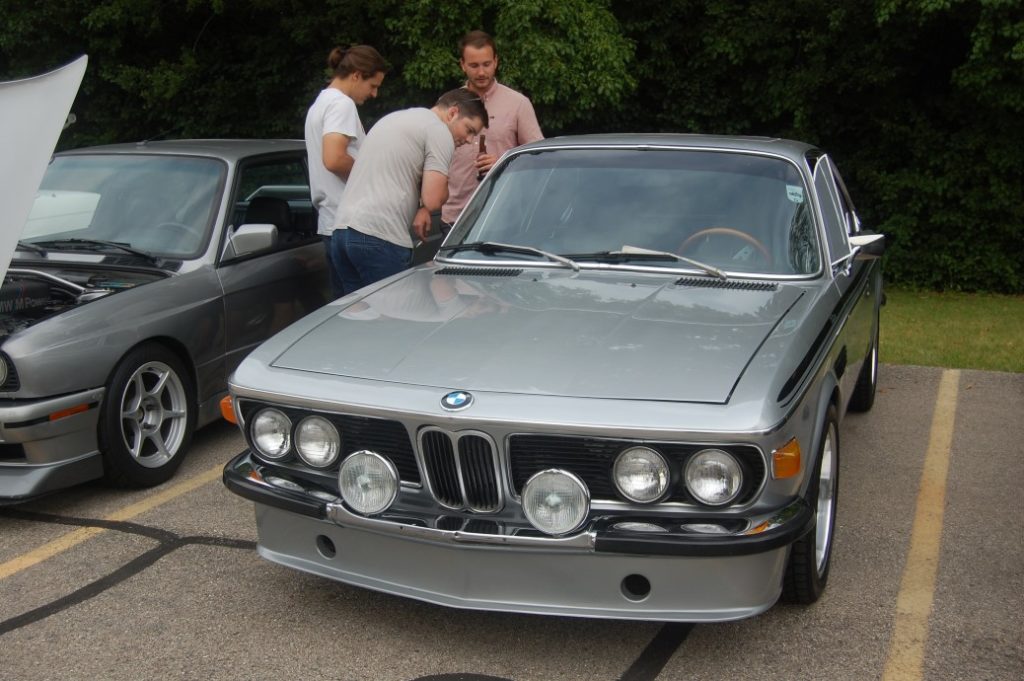
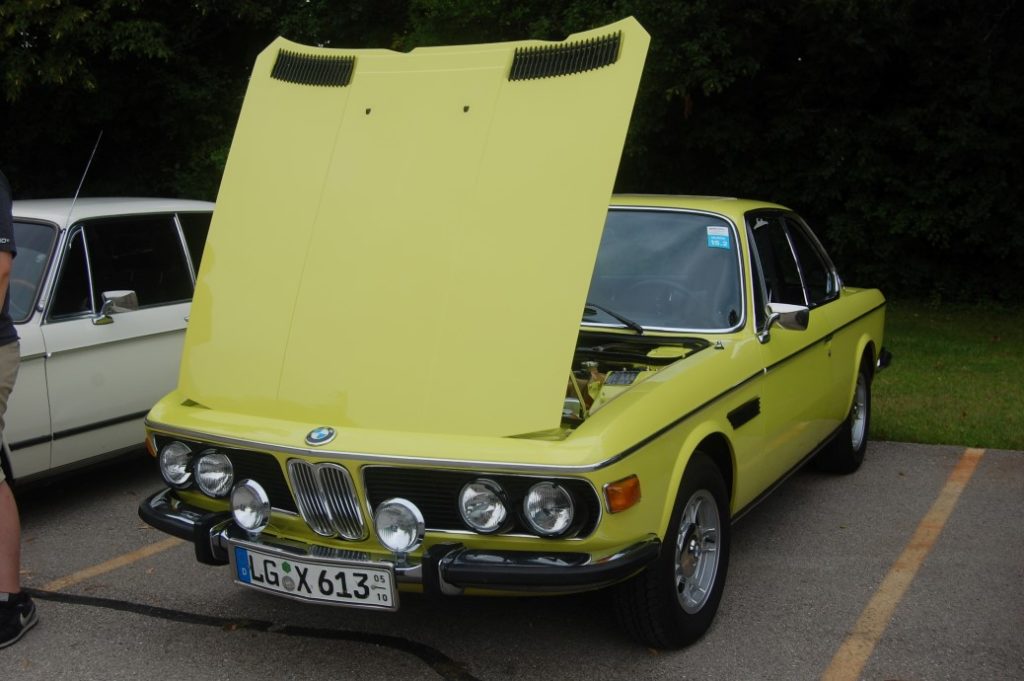
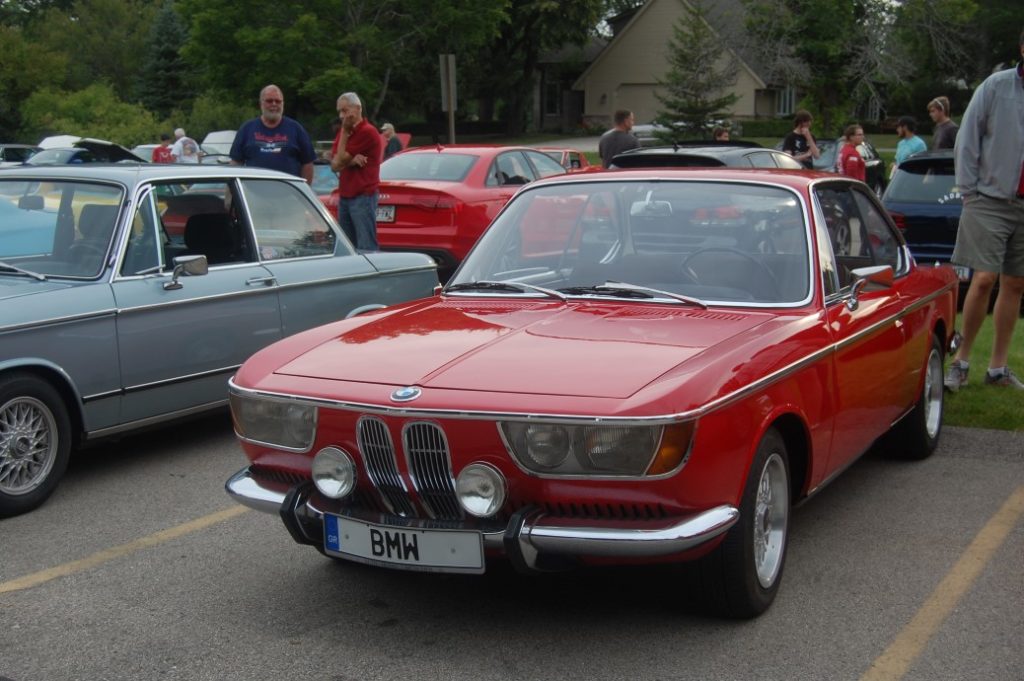
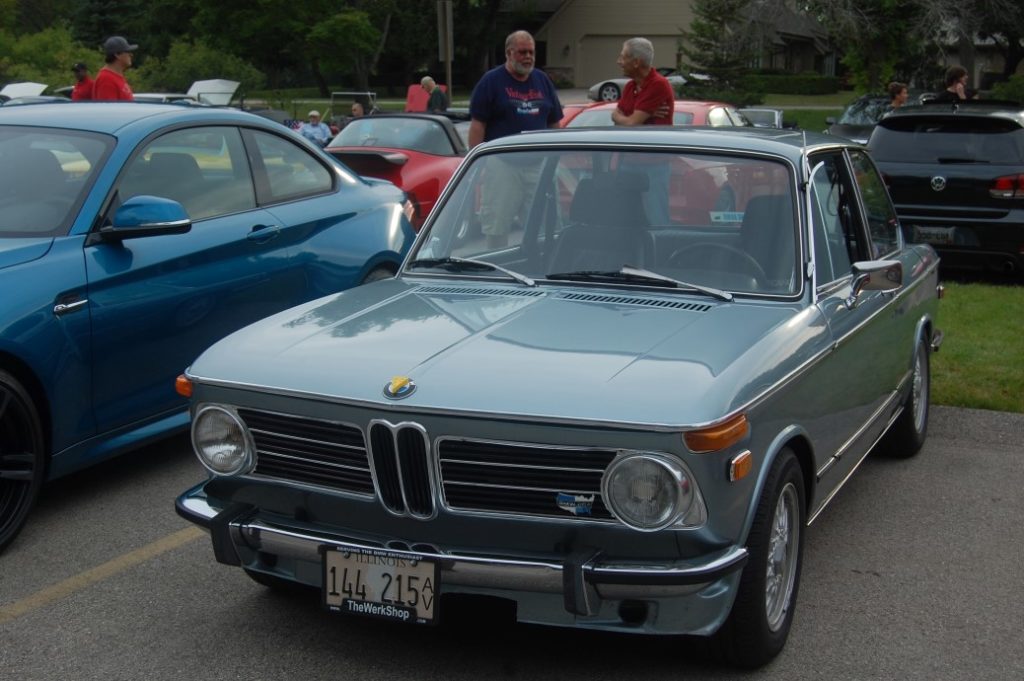
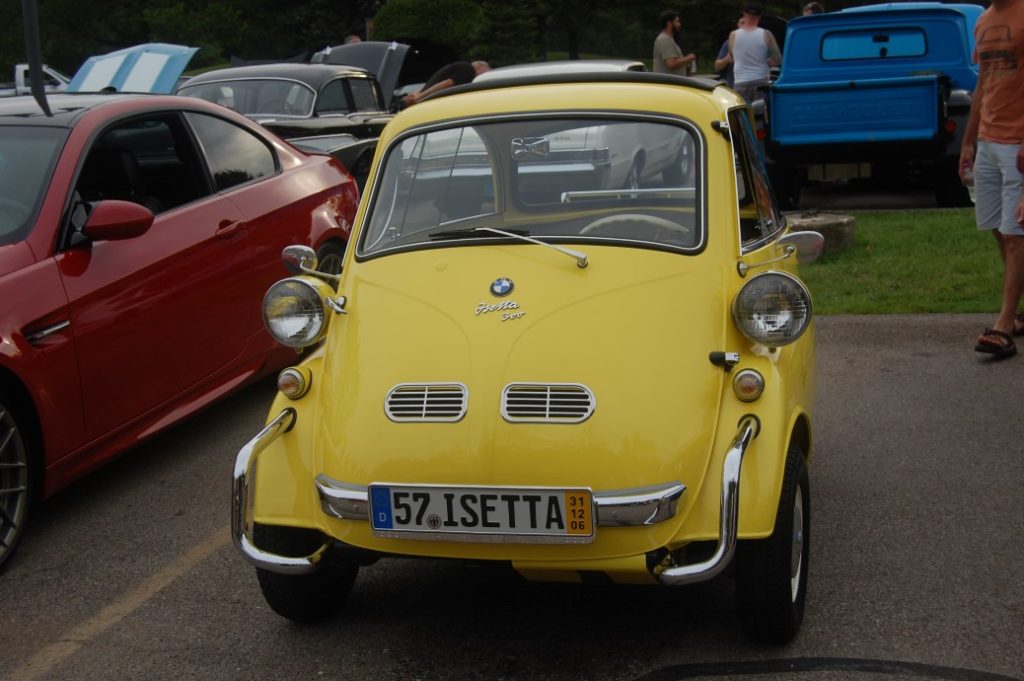
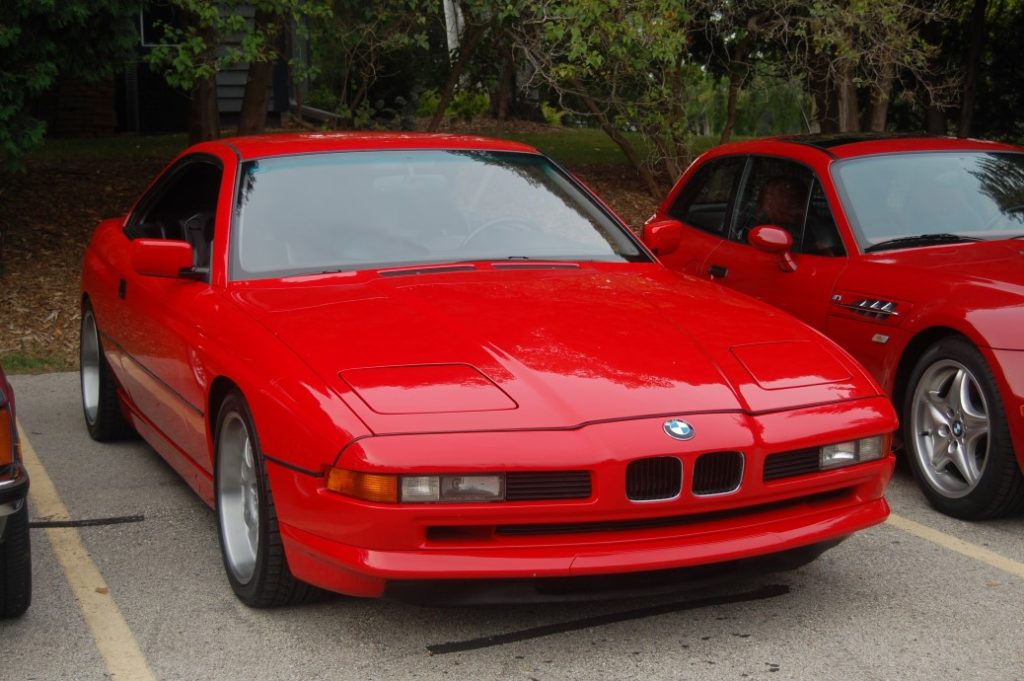
For the August 15th Badger Bimmers night, BMWs and their owners came from far and wide to show off their cars and socialize with other enthusiasts.  Before the night ended, 86 BMWs and MINIs put in an appearance, along with a plethora of other cars that came to share the BMW love and enjoy the fantastic Wisconsin summer weather.  Club members from all over southeast and central Wisconsin, along with a big group from northern Illinois, made the trek in an astounding variety of BMW vehicles.  CS, ’02, 1, 2, 3, 4, 5, 6, 7, 8, M, and X along with MINIs old and new were all well-represented.

The night was topped off by a big door-prize giveaway, with excellent items from Umansky BMW, Enterprise BMW, Mid-State Insurance, and nines American Bistro finding new homes.

Start making plans for next year’s 7th Annual event, tentatively scheduled for the second week of August in 2018.  I’d like to thank everyone who attended this year for coming out, and also give a big round of applause for the Brew City Cruise Night volunteers who helped make the night a special one.

Categories : 2017 Jul-Aug-Sep

Bimmer in the Barn Part 16

By Bill Nicoud
Saturday, August 19th, 2017

I realized that it’s been a while since I updated folks on the BIB project, then I looked at the date of my last article. Wow, it’s been almost two years since the last installment!  What can I say, life gets in the way.  Well, true, people are busy.  My life has had some interesting twists, also true. Still, this is way overdue.  For that, and to the people who have been waiting, I apologize.

Work has indeed been progressing. I believe, in the last article, I was in the midst of body work: priming, sanding… that oh, so-time-consuming process that can make or break a good-looking finish. Yes, I’ve said time and again, “This will not be an ultimate, over-the-top restoration.” However, even I have a kind of minimum standard. That standard means sanding, smoothing, filling, priming, and lots of it. If you’ve never done this, you can’t understand the amount of work this entails.

The tools used for this process include several different-sized sanding blocks of different lengths and shapes. Each one of these tools has its own special application and purpose. The right tool makes a big difference in the end result, and the time needed to achieve it.

Once all the sanding, dust, and heavy work is done, the final prep for paint can begin. The car is cleaned and inspected. This is the time to correct any final defects, before it can be masked and painted. This is also the time for final application of seam sealers, and gravel guard. Seam sealers close up overlaps and gaps between stampings and panels. Gravel guard is that textured coating you see at the bottom of the rocker panels. It helps protect the finish in chip-prone areas.

With this step complete, the body and parts can be masked for final paint.  Wait, what do you mean “final paint”?  Along the way, we already painted the engine compartment, trunk area, and the back side of all the various body panels. “Final paint” means painting all the external surfaces.

In the case of this car with a non-metallic finish, the car and its external parts can be painted without being assembled. Metallic finishes need to have a consistent metallic orientation to yield a proper finish, in which case the car should be assembled so that when paint is applied, it lays consistently.

Being able to paint the car disassembled makes the masking process easier, but it’s still an all day process. The masking step is critical to ensure that paint doesn’t get on any surface it doesn’t belong on. Masking cars for paint on a daily basis is often just tedious and time consuming. But masking this car after hours, with music going and no distraction, was enjoyable. We use a poly-coated masking paper, which does not allow our urethane paints to soak through. Gone are the days of masking cars with the Sunday Journal, road maps, or whatever paper products you might have lying around.

With masking complete, the next step is a final wipe-down with a water-based specialty cleaner to remove dust, finger prints and any other contamination. All these steps are critical to ensure a quality finish.

By now you’re probably saying, man that’s a lot of work!  It is. That’s part of the reason it’s expensive to have a car refinished, and why you should take care of your car’s finish in the first place.

Once the car is cleaned, the next item is to wipe down with a tack rag (a somewhat sticky gauze cloth) to remove dust. Finally, it’s time to apply one coat of sealer, followed by several coats of the Caribbean Blue top coat I picked for the car.  The weapon of choice for painting is my trusty SATA jet 3000 paint gun. German paint gun — German car, seems fitting.

After a couple of hours dancing around the car, waiving my arm like a mad man, the finish is complete. What a great feeling after you’re done, walking around the freshly finished ’02, finally seeing it all fresh and shining!

Now you’re all saying, “Great, Bill, put it together and drive it already!” Not so fast!  Yes, this has been a lot of work, but we’re not done yet. Yup, just when you think you’re done sanding ’til you can’t stand it, you have one more round. This round is final wet sand of the finish before buffing.  Wait, what? You said it was all shiny and painted, why would you do that?

All paint finishes that come out of a spray gun have a certain amount of texture, some call it “orange peel.”  And while this is a driver-quality car, I want to remove some of this texture and give the car the finish I’m looking for.

So now we break out the 1500 and 2000 grit sandpaper, bucket of water, proper sanding block, and get busy. Each panel, depending on size, takes hours to wet sand, then checking to make sure you’ve done just enough.

Once this process is finished, the actual polishing can begin. This polishing step is a three-phase process using various degrees of polish and polishing pads on an electric buffer. A lot of painters have their own special mix of polishes and pads that work for them. I do, too, but I can see your eyes glazing over so I won’t bore you with those details. This sanding and polishing process will take about 30 hours, far less than a full-blown show car, which can take up to 100-plus hours.

Now that this dirty work is done, it’s finally time to re-assemble this car and get it on the road. We’ve come a very long way, and the end is in sight. The re-assembly process will take a long time as well, with lots of details to sweat.

I’ll save that for another installment. Hopefully you see this before the project is finished. I’ll provide one or two more installments before I call the BIB a wrap. Stay tuned.

~Bill

Categories : 2017 Jul-Aug-Sep

The Hooptie and the BMW – An Enthusiast’s Story

By Chris Wenzler
Thursday, July 13th, 2017

My first car was a 1975 BMW 2002. I found it in the newspaper one Sunday after church. The listing read that it had been sitting for a while, non-running, but had Weber side draft carburetors and good rear shock towers, and was only $250. I was 14 years old, so my dad (Ed) drove us out to look at it. When we got there, there was already somebody looking at the car ahead of us. My dad told me to try to contain my excitement, but inevitably I started chatting about the car. I looked right past the big dent in the passenger rear quarter, the large rust blisters all over it, the smell of old, moist BMW interior in the air, and thought this thing was perfect. I remember that my dad called it a “diamond in the rough”. The other buyer actually saw how excited I was about the car, and stepped aside so that we could purchase it. It was meant to be. I hope I can return the favor someday to another youthful, energetic future BMW owner.

Fast forward about 3 years, after having spent every weekend in the garage rebuilding, restoring, banging and bashing knuckles, it was a car again. The problem was, during that long time of restoration, I actually needed a car that drove, and not just looked cool. Enter the 1982 Dodge Ram. My dad and I bought the “Ram-a-Jamb” at a gas station one late night on the way home from a trip to Green Bay, after having unsuccessfully looked at another Ford truck. It started and ran, but it was apparent that the shift linkage was all messed up. It had a four speed on the floor but it was more of a “W” pattern instead of an “H”pattern. It had a straight six that was entirely underpowered, and was rear wheel drive–almost useless for a truck in Wisconsin, but it was only $800 cash…. So, we bought it, got it home and after about an hour underneath it, my dad was able to figure out that some Marvin Meat Fingers had inadvertently flipped the linkage, so voilà it was now a “H”pattern once again.

The Ram was ugly. I mean, the type of truck that only a mother could love. It was rusty, banged up, and had wood fences built on either side of the rear box in good ‘ol fashioned farm-truck style. When I drove it into my high school parking lot, the speed bumps caused it to squeak and creak like something out of a horror movie. I would squeak that rusty truck up to the closest parking space right next to the rear doors of the school, shut it off, leave it unlocked (sometimes keys in it) with the windows down, and not give it another thought. But the best thing about that truck (at least I thought at the time) was that it was my “other car”. All the while I drove around this ugly truck, I knew that I was actually a BMW guy. That one day I would leave this thing at home, and show up at work or school with my freshly painted (thanks Bill), freshly sorted, freshly rebuilt BMW 2002.

So the day finally came, the 2002 was sorted out and running well enough to drive it… more than just around the block. It had its typical side draft carburetor synchronization issues as well as some timing issues and points tweaking to get straightened out, but once several shakedown runs were completed, I felt good enough to drive it to school. I remember it well. I drove it in the parking lot, towards that closest parking spot by the rear doors… and kept right on driving, back around towards the rear of the parking lot to the furthest spot away from the school and any other vehicle that I could find. I parked the car, turned it off, and sat inside. I remembered my dad always parking as far away from other cars whenever we went places. The “no-ding-zone” he would say.  I remember thinking that it was pretty funny at the time… Until it was your own car that you were driving. The car that you worked hard on and sold most of your other worldly possessions to be able to afford. It ended up that for the rest of my senior year, I mostly drove the Ram-a-Jamb to school or to concerts packed full of kids, while the 2002 stayed safely at home until date night or a weekend autocross called its name.

Fast forward a few years, and I still struggle with finding the right parking space, driving the M3 in the rain, piling a bunch of miles on it, etc. There is something to be said for owning a hooptie…. I mean a car that you don’t care about, and won’t lose sleep over getting a ding in the quarter panel, or a kids bike handle bar scratch on the door.

The 2002 stayed around for some years, and eventually was modified to include fender flares, bigger wheels and tires, an LSD, a Schrick Cam, race seats and a whole lot of hot laps on the autocross courses at Miller Park. That car truly started me on the BMW path that I am on today.  The Ram-A-Jamb sent me down its own path–a path of winter beaters and backup cars. I have had Toyota 4Runners, Land Cruisers, a Sequoia, a Chevy Silverado, a Tahoe, a Suburban, a Ford F-150, a Jeep Cherokee, a Grand Cherokee, a CJ-7, a little Honda named Stan…and the list goes on. All were driven, used, abused, and sold (for a small profit, to help afford more BMW parts, of course).

BMWs are great cars. But for me, the continual pursuit of a harmonious balance between the Hooptie and a BMW is a big part of the fun.

Categories : 2017 Jul-Aug-Sep

Badger Bimmers Tours Valenti Classics

By Jeff Fait
Saturday, July 1st, 2017

Saturday, July 1, 2017, from 9:00 am until noon Badger Bimmers were the guests of Valenti Classics in Franklin.  The Valentis have been in the classic car business since 1991 as full scale restoration and sales professionals.  Today, these services have expanded to made to your imagination custom builds, historic one of a kind restorations, investment automotive portfolio consulting, historical authentication, regular service & maintenance, fabulous 36-car storage facilities where your beloved is in fine company & under daily watchful eyes, auction assistance, specific seek & acquire program, paint & body works, and much, much more.

Badger Bimmer Pep Stojanovic made the arrangements and set up the event.  19 people enjoyed the gorgeous day, ate waaaaaay to many delicious donuts. and saw a diverse collection of automotive projects in all their stages of completion.  We also saw likely the largest selection of Zastava automobiles we have ever seen in one place.  Or have ever seen, period!

Categories : 2017 Jul-Aug-Sep

Related Sites & Links
 

  • Road America
  • Blackhawk Farms
  • Motorsportreg (event registration)
  • BMW CCA National
  • BMW North America
  • BMW International

Follow-us:
 

Join Our Email List
Get the latest Badger Bimmers news.
  • Events
  • Club News
  • Club Info
  • Gallery
  • Membership
  • Sponsors
  • Classifieds