I realized that it’s been a while since I updated folks on the BIB project, then I looked at the date of my last article. Wow, it’s been almost two years since the last installment! What can I say, life gets in the way. Well, true, people are busy. My life has had some interesting twists, also true. Still, this is way overdue. For that, and to the people who have been waiting, I apologize.
Work has indeed been progressing. I believe, in the last article, I was in the midst of body work: priming, sanding… that oh, so-time-consuming process that can make or break a good-looking finish. Yes, I’ve said time and again, “This will not be an ultimate, over-the-top restoration.” However, even I have a kind of minimum standard. That standard means sanding, smoothing, filling, priming, and lots of it. If you’ve never done this, you can’t understand the amount of work this entails.
The tools used for this process include several different-sized sanding blocks of different lengths and shapes. Each one of these tools has its own special application and purpose. The right tool makes a big difference in the end result, and the time needed to achieve it.
Once all the sanding, dust, and heavy work is done, the final prep for paint can begin. The car is cleaned and inspected. This is the time to correct any final defects, before it can be masked and painted. This is also the time for final application of seam sealers, and gravel guard. Seam sealers close up overlaps and gaps between stampings and panels. Gravel guard is that textured coating you see at the bottom of the rocker panels. It helps protect the finish in chip-prone areas.
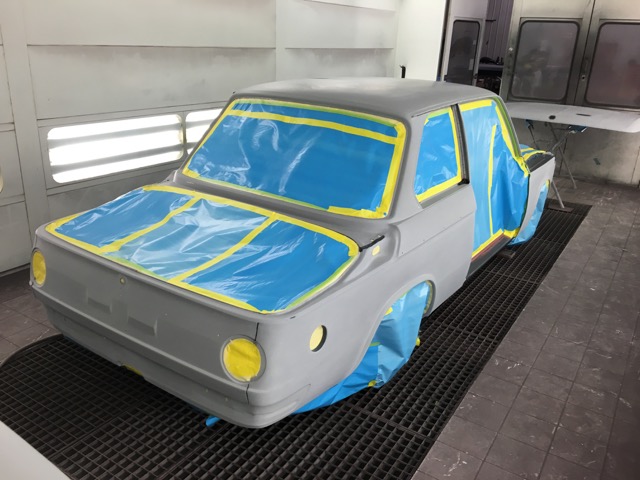
With this step complete, the body and parts can be masked for final paint. Wait, what do you mean “final paint”? Along the way, we already painted the engine compartment, trunk area, and the back side of all the various body panels. “Final paint” means painting all the external surfaces.
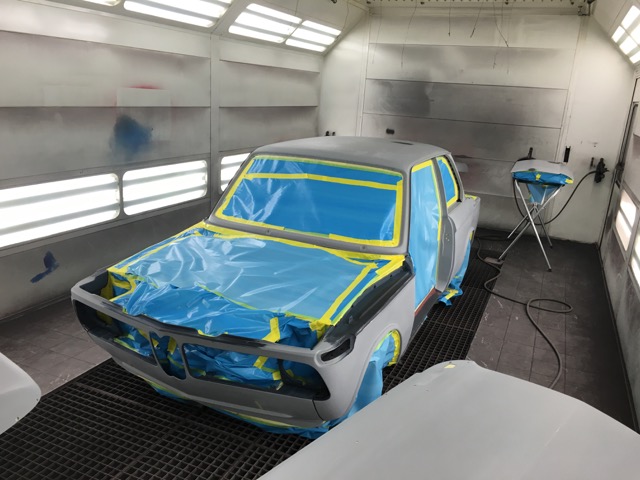
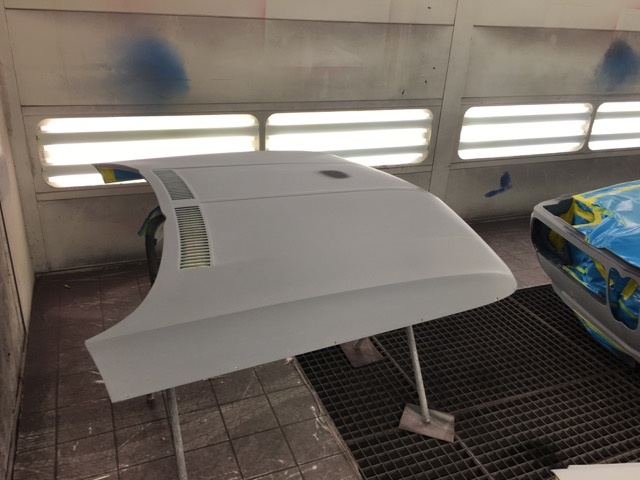
In the case of this car with a non-metallic finish, the car and its external parts can be painted without being assembled. Metallic finishes need to have a consistent metallic orientation to yield a proper finish, in which case the car should be assembled so that when paint is applied, it lays consistently.
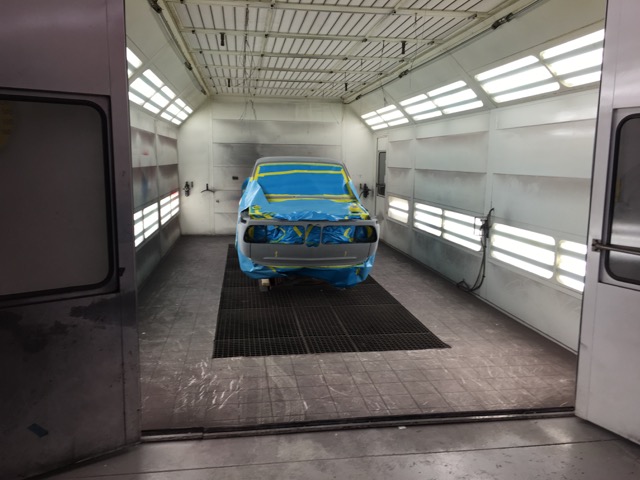
Being able to paint the car disassembled makes the masking process easier, but it’s still an all day process. The masking step is critical to ensure that paint doesn’t get on any surface it doesn’t belong on. Masking cars for paint on a daily basis is often just tedious and time consuming. But masking this car after hours, with music going and no distraction, was enjoyable. We use a poly-coated masking paper, which does not allow our urethane paints to soak through. Gone are the days of masking cars with the Sunday Journal, road maps, or whatever paper products you might have lying around.
With masking complete, the next step is a final wipe-down with a water-based specialty cleaner to remove dust, finger prints and any other contamination. All these steps are critical to ensure a quality finish.
By now you’re probably saying, man that’s a lot of work! It is. That’s part of the reason it’s expensive to have a car refinished, and why you should take care of your car’s finish in the first place.
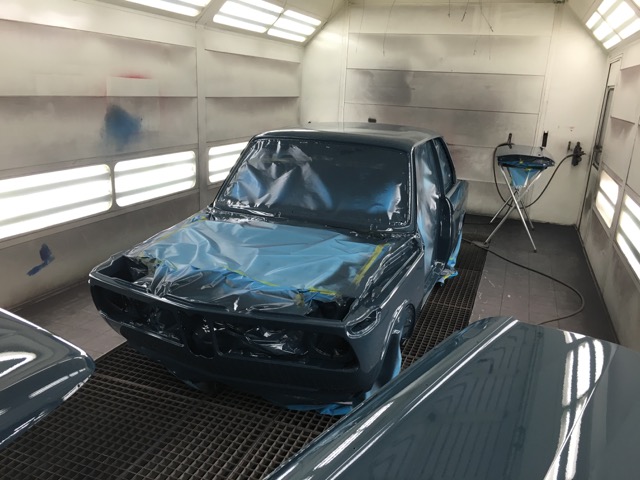
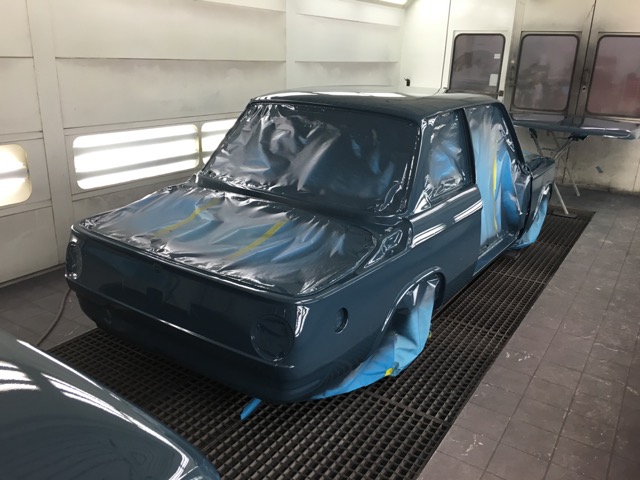
Once the car is cleaned, the next item is to wipe down with a tack rag (a somewhat sticky gauze cloth) to remove dust. Finally, it’s time to apply one coat of sealer, followed by several coats of the Caribbean Blue top coat I picked for the car. The weapon of choice for painting is my trusty SATA jet 3000 paint gun. German paint gun — German car, seems fitting.
After a couple of hours dancing around the car, waiving my arm like a mad man, the finish is complete. What a great feeling after you’re done, walking around the freshly finished ’02, finally seeing it all fresh and shining!
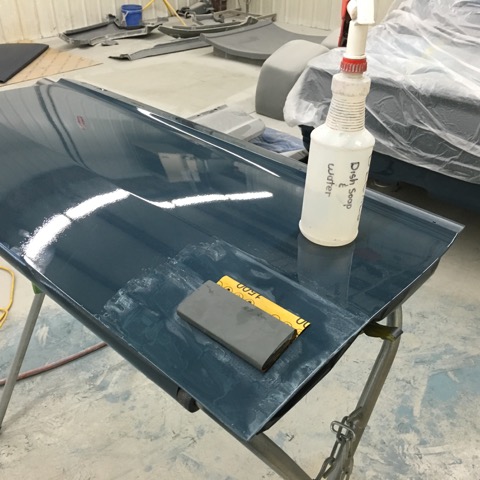
Now you’re all saying, “Great, Bill, put it together and drive it already!” Not so fast! Yes, this has been a lot of work, but we’re not done yet. Yup, just when you think you’re done sanding ’til you can’t stand it, you have one more round. This round is final wet sand of the finish before buffing. Wait, what? You said it was all shiny and painted, why would you do that?
All paint finishes that come out of a spray gun have a certain amount of texture, some call it “orange peel.” And while this is a driver-quality car, I want to remove some of this texture and give the car the finish I’m looking for.
So now we break out the 1500 and 2000 grit sandpaper, bucket of water, proper sanding block, and get busy. Each panel, depending on size, takes hours to wet sand, then checking to make sure you’ve done just enough.
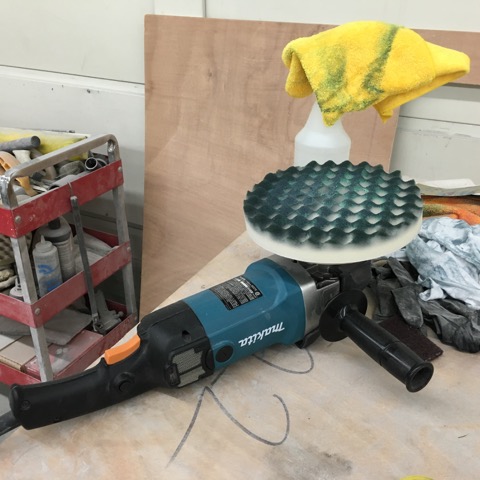
Once this process is finished, the actual polishing can begin. This polishing step is a three-phase process using various degrees of polish and polishing pads on an electric buffer. A lot of painters have their own special mix of polishes and pads that work for them. I do, too, but I can see your eyes glazing over so I won’t bore you with those details. This sanding and polishing process will take about 30 hours, far less than a full-blown show car, which can take up to 100-plus hours.
Now that this dirty work is done, it’s finally time to re-assemble this car and get it on the road. We’ve come a very long way, and the end is in sight. The re-assembly process will take a long time as well, with lots of details to sweat.
I’ll save that for another installment. Hopefully you see this before the project is finished. I’ll provide one or two more installments before I call the BIB a wrap. Stay tuned.
 ~Bill
~Bill
